Houdini is a powerful platform capable of creating mind-melting imagery. The software boasts innumerable options, a considerable degree of flexibility, and very few barriers between the creator and their imagination. This versatility is excellent when you want to lose yourself down a rabbit hole of experimentation and exploration, or tweak and toy with the minutiae of a simulation in the pursuit of a perfect visual.
What you don’t want is for that freeform creative expression to be interrupted by irritating technical hold-ups, or have time-intensive processes prevent the quick application of idea to screen. To help overcome such annoyances, we reached out to Kate Xagoraris, VFX Artist at Deluxe Animation. Below, Kate has put together some best-practice tips and techniques to keep you focused on creating as you experiment with ideas in SideFX Houdini, rather than tweaking settings.
Learn more about the latest version of Houdini.
Let’s dive in!
Did you know?
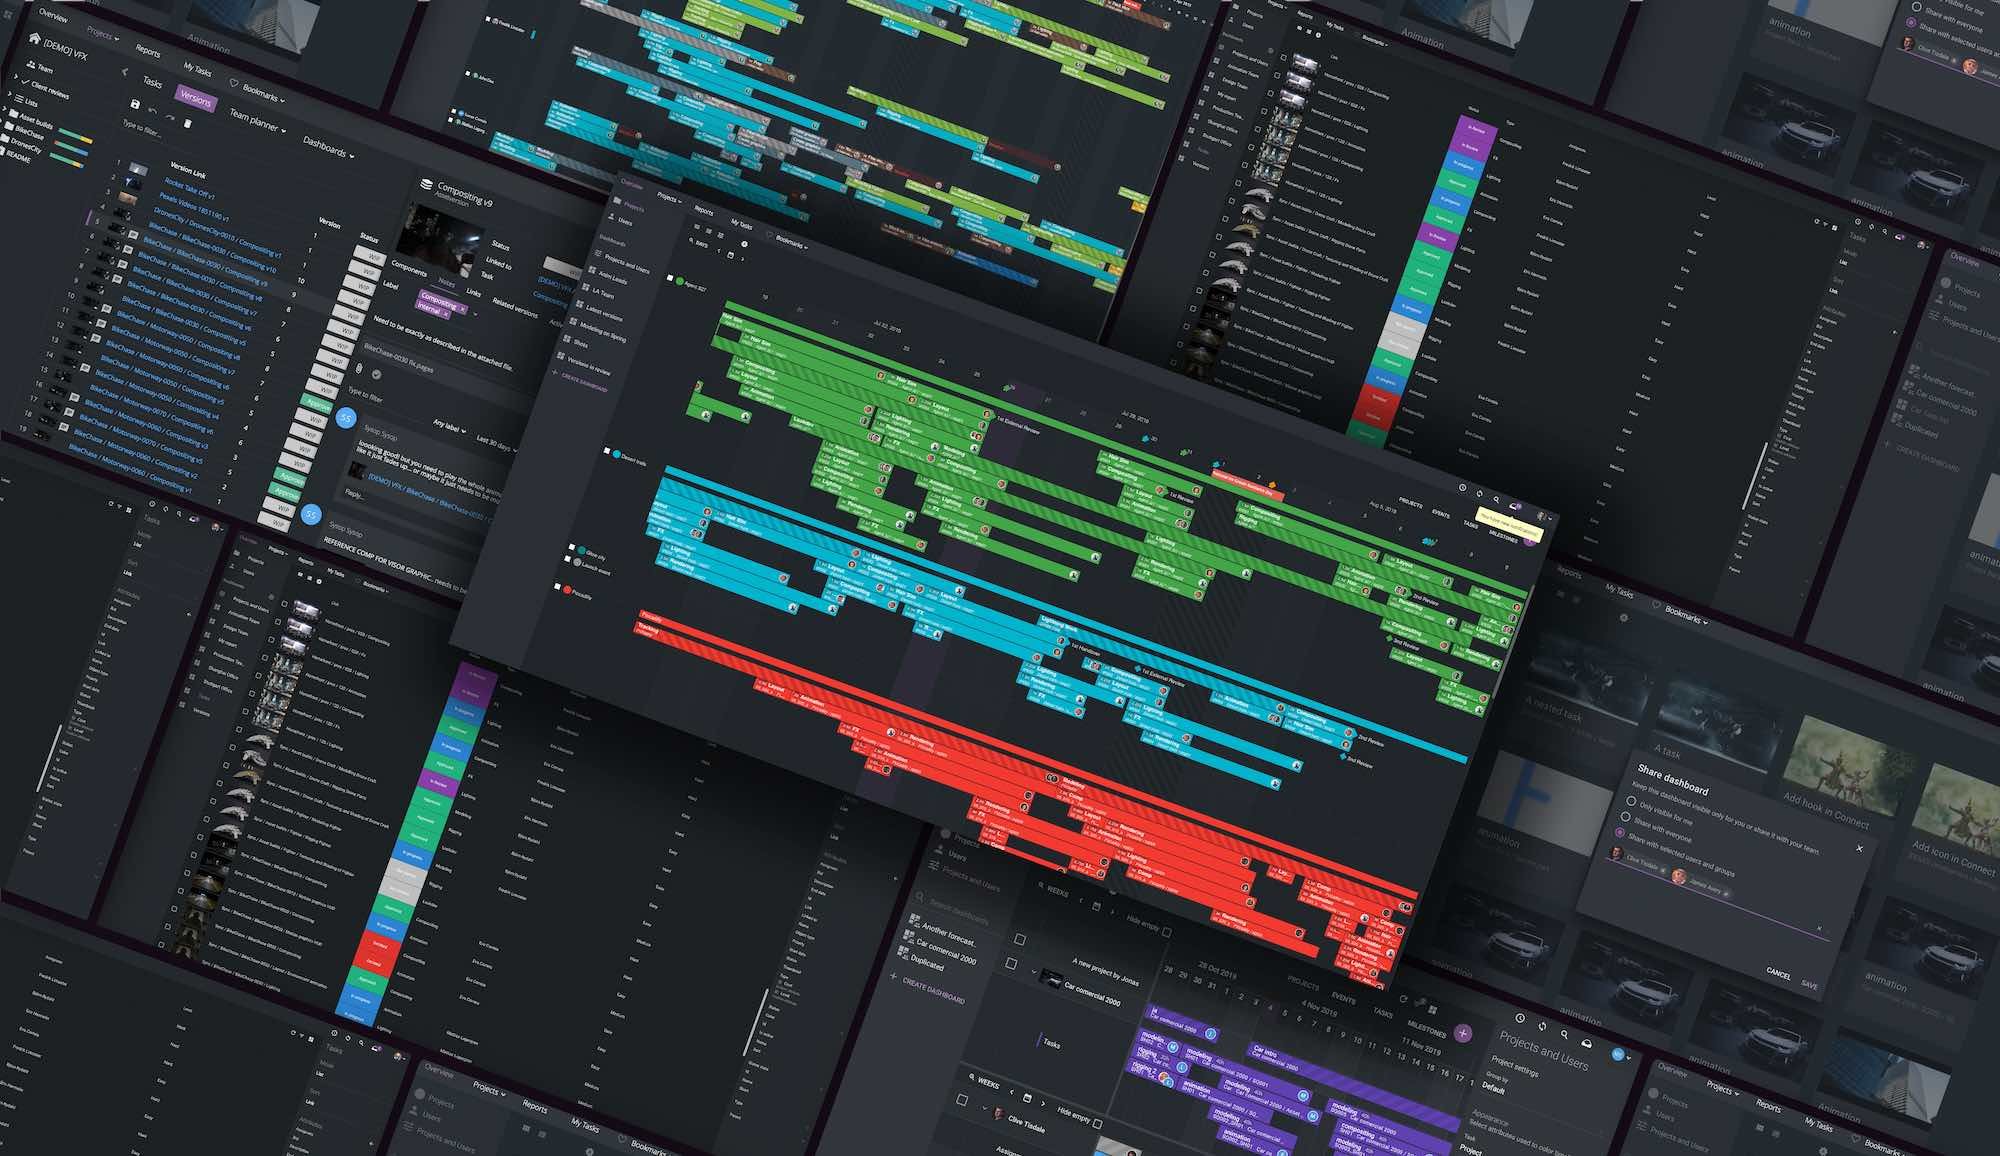
ftrack Studio integrates with Houdini to allow for easy tracking of tasks from directly within in Houdini.
1. Optimize caches and attributes
Make sure you use caches in every simulation you create. Caches enable your simulation to be saved as a .bgeo, a file type native to Houdini. By caching your simulation, you can play your creations back and make edits faster, thus saving time. Caching also enables you to observe any details in your simulation with more accuracy.
You should also add an attribute delete node before your cache file. In doing so, you can delete any attributes that may slow down the caching time of your simulation.
2. Understand your network folders
Network folders are types of nodes existing within Houdini. If you remain ignorant of what each node is and what it does, it will be difficult to communicate how you’ve created something or to locate the specific nodes you need.
Houdini has ten main types of folder. The main ones are SOPs, DOPs, VOPs, CHOPs, ROPs, COPs, CVEX, SHOPs, and Objects. An SOP, for example, is a surface level operator. SOPs exist inside objects and manage any changes made on the surface of your simulation. You must use the SOP if you wish to make changes on your geometry or your attributes, or if you wish to save your simulation. Learn what each node does so you know what to use and when!
3. Refer to the Geometry Spreadsheet
The Geometry Spreadsheet tab is key to understanding everything happening in your Houdini simulation. The tab lists important information, like where attributes are located on your geometry, how those attributes change over time, and their values. The information is hugely useful for problem-solving; if something isn’t quite working in your simulation, you will often find the problem in the Geometry Spreadsheet.
When you select a node in your network view, the Geometry Spreadsheet will display all the attributes passing through the node at that point in the simulation. You can see useful information like where your attributes end and where they need to change. Make use of this to tweak and perfect your work!
4. Choose a suitable render engine
Houdini comes with a highly advanced renderer called Mantra. Mantra enables you to switch between rendering engines, and you must select the right one for your scene. A physically based rendering engine, for example, is useful if you intend to render a photorealistic of accurately lighted environment. A micropolygon physically based rendering engine is perfect for rendering volumes, such as clouds.
Picking the right render engine for your simulation is crucial, as it will and maximize what is possible and produce much better-looking imagery.
5. Set cooking mode to manual
‘Cooking’ refers to evaluating the nodes in your simulation network to compute the state of the scene in the current frame. You can find Houdini’s cooking controls in the far right corner of the timeline.
Tweaking the settings in Houdini’s cooking controls can help to improve your simulation time. If you set ‘cooking mode’ to manual, for example, you can adjust keyframes and values without Houdini recooking the timeline and updating between modifications. You can make your changes visible in your simulation by switching back to auto-update. Using manual cooking mode in this way can save a lot of time, especially when working on heavy projects.
6. Add pre-roll to your simulations
You can make simulations start earlier, and also adjust the timing of your creations within the desired frame range, by adding pre-roll. Adding pre-roll will save you a lot of time otherwise spent struggling to animate values within a small section of time and fixed frame length.
Adjust your timeline length in the Global Animations box visible on the far-left of the timeline. Decide when you would like the simulation to start using your DOP network, and you’re set!
7. Learn hotkeys
A hotkeys tip comes up in almost every tips article about software efficiency for a reason: because it works! Hotkeys will improve your overall creation time.
Houdini has several hotkeys applicable to the different viewports and views you’ll operate in your scene. Some of the most useful are, in my opinion:
- Space + G: Recenter your viewport.
- Left-click + Alt: Drop keyframes.
- Y + mouse drag: Hold and move in a direction to cut node connections.
- Ctrl + Left-click: Press over camera icon to drop a camera.
You can also navigate to the dropdown hotkey manager and customize hotkeys to your heart’s content.
Concluding thoughts
Thanks for reading these tips! They will absolutely decrease the time it takes for you to create incredible Houdini simulations. There’s no substitute, however, for exploring the software, creating increasingly complex builds, and finding out what’s possible through experience. Just make sure you have fun doing it!
Try ftrack Studio in Houdini
Start a free trial of ftrack Studio and see how it integrates with SideFX Houdini for native project management.

More from the blog
Enhanced performance in ftrack Studio: Fine-tuning for speed, reliability, and security
Chris McMahon | API, Developer, New features, Product, Productivity, Studio | No Comments
Backlight and the Visual Effects Society forge a partnership for the VES Awards judging process
Kelly Messori | Case Study | No Comments
Presenting the new sidebar: Enhancing project navigation in ftrack Studio
Chris McMahon | New features, Product, Release, Studio | No Comments
Achieving Better Feedback Cycles and Faster Nuke Workflows at D-Facto Motion Studio
Kelly Messori | Case Study, Studio | No Comments
Making the switch: The transition to cineSync 5
Mahey | Announcements, cineSync, News, Product | No Comments
Supporting Your Studio: Free ftrack Studio Training and Office Hours from Backlight
Kelly Messori | News | No Comments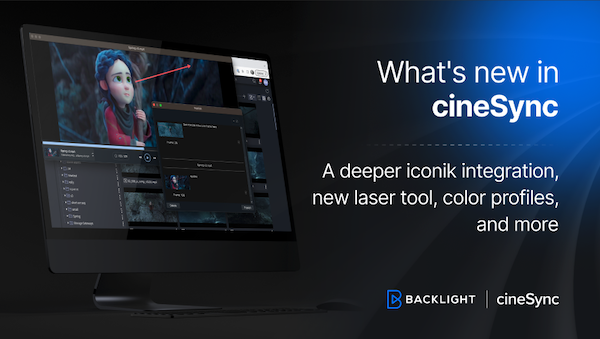
What’s new in cineSync – a deeper iconik integration, laser tool, OTIOZ support, and more
Chris McMahon | cineSync, New features, Product, Release | No Comments
