In ftrack Studio 4.2 we introduced private projects. Let’s take a closer look at private projects, how you can use them, and what they can achieve.
Creative projects can often be of a sensitive nature. They can come with strict NDAs and rigorous security requirements. That’s why we introduced a new feature called “private projects” in ftrack Studio 4.2. We wanted to make it easier for project managers to easily change access rights to a project, and to swap out who can see what and when.
About private projects
When might private projects come in useful? There are a few scenarios where limiting your team’s access to a project could prove beneficial.
For instance, you might work with remote freelancers, whose access to a project must be limited. Make it private, and they won’t be able to access it. Alternatively, perhaps a project is in its very early stages, but it’s not yet 100% certain that it’ll go ahead. Make it private – you can still plan it, assign users, and create a mock schedule for your team, but those activities won’t be visible to anyone but those you selected. Once you’re ready to move ahead, you can invite specific colleagues or open the project to everyone.
Let’s take a closer look at how to set up a private project in ftrack Studio.
Private means private
To start things off, we’d like to make this clear. When a project is set to “private”, you can rest assured that no one can see the project but you. No one else can monitor or interact with the project unless you explicitly add them to that project.
We’ll look at how to do that shortly. First, let’s create a new project and set it to private.
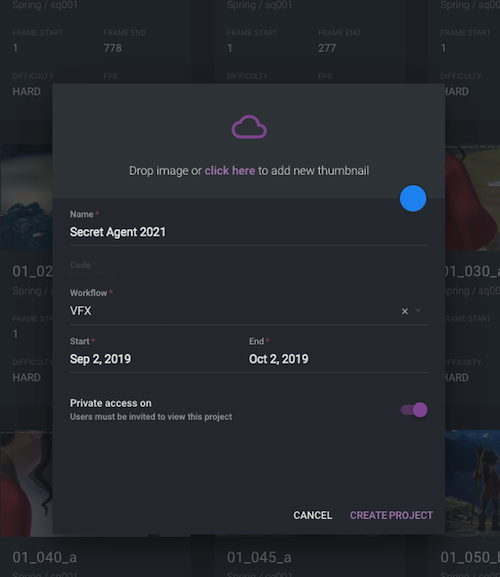
You can create a new project by clicking Create new project in the Projects menu in the top bar. When the Create project dialogue appears, toggle Private access to “on”. (Note: you need a role with sufficient permissions to create projects!)
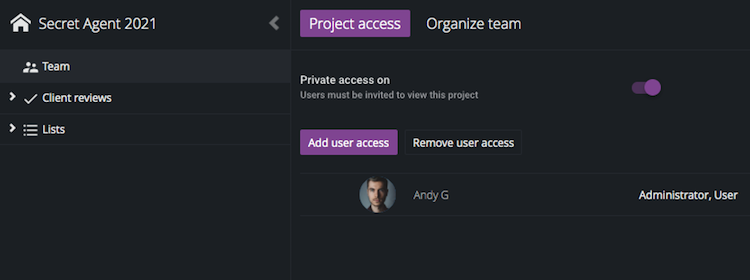
You’ve now created a project that only you can see, access, and act upon.
Manage project access
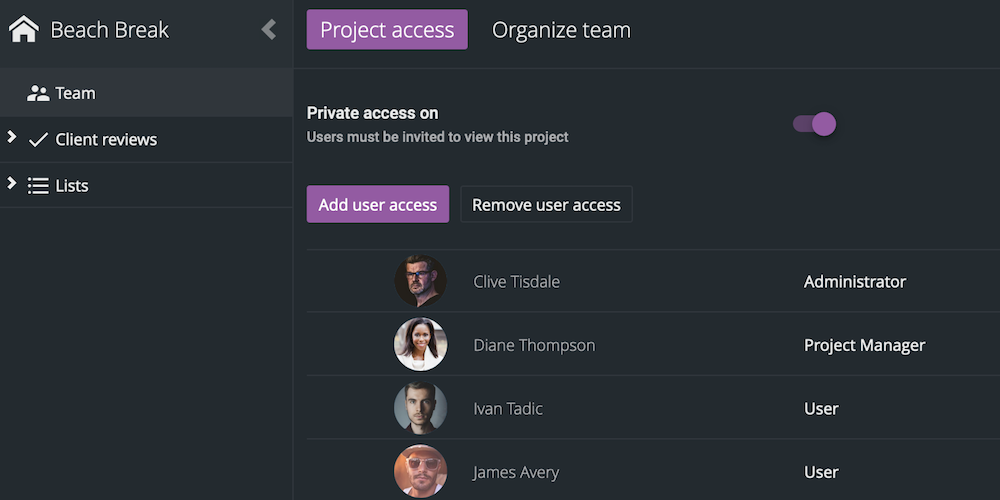
If you need to invite specific colleagues to a project – or check who has access – then you must navigate to the Team page.
We introduced a new tab to the Team page in ftrack Studio 4.2. Using this tab, you can add, remove, or change the role of each user on a project. It’s easy to add user access if you want to involve them in a private project or remove them if they’re no longer needed.
As a side note, it’s worth mentioning that a project manager can now add or revoke access to a project – or change security user roles for a project – with involving an administrator.
You’re now equipped to run safer and more secure projects in ftrack Studio than ever before! As ever, please let us know if you have any questions – we’d be more than happy to answer them. You may find some answers via the documentation supplied below.
Learn more about Private projects
Try ftrack Studio and private projects today! Access a free trial to learn how it can make your projects more secure.
More from the blog

Protecting Your Creative Vision During Desktop and Web-based Review & Approval
Chris McMahon | cineSync, Product, Review, Tips & tricks | No Comments
How to Bypass the 3 Mental Snags of Media Sequence Creation
Chris McMahon | Animation, News, Review, Studio, Tips & tricks | No Comments
How to Quickly Assign Tasks and Track Status with Custom Task Views
Chris McMahon | New features, News, Product, Productivity, Release, Studio, Tips & tricks | No CommentsThe New Face of Media Management is Simple and Flexible
Chris McMahon | cineSync, Integrations, New features, Product, Review | No Comments
7 Onboarding Tips for Production Tracking Tools
Chris McMahon | News, Studio, Tips & tricks | No CommentsThe new iconik x cineSync integration brings accessible media management to cineSync
Chris McMahon | Announcements, cineSync, Integrations, News, Product, Release, Remote, Review | No Comments
Backlight unveils cineSync 5.3, with more ways to review media, faster
Chris McMahon | cineSync, Integrations, New features, Product, Release, Review | No Comments
