Get more out of your Nuke workflow. Here’s eight handy tips from veteran Nuke artist and MPC compositor Josh Parks.
Nuke is a vital part of any compositing workflow – and the faster you are with it, the more you can get out of it! Here, Josh Parks of MPC reveals eight ways that you can get more from your use of Nuke. Just check out the steps below to boost your workflows, work faster, and increase efficiency when tackling complex shots.
Be sure to check out our recent article about ftrack’s integration with Nuke Studio, too. In the article, we explore linking your compositing workflow and production pipeline, and how it can have a big impact on the optimization of your studio’s output.
Did you know?
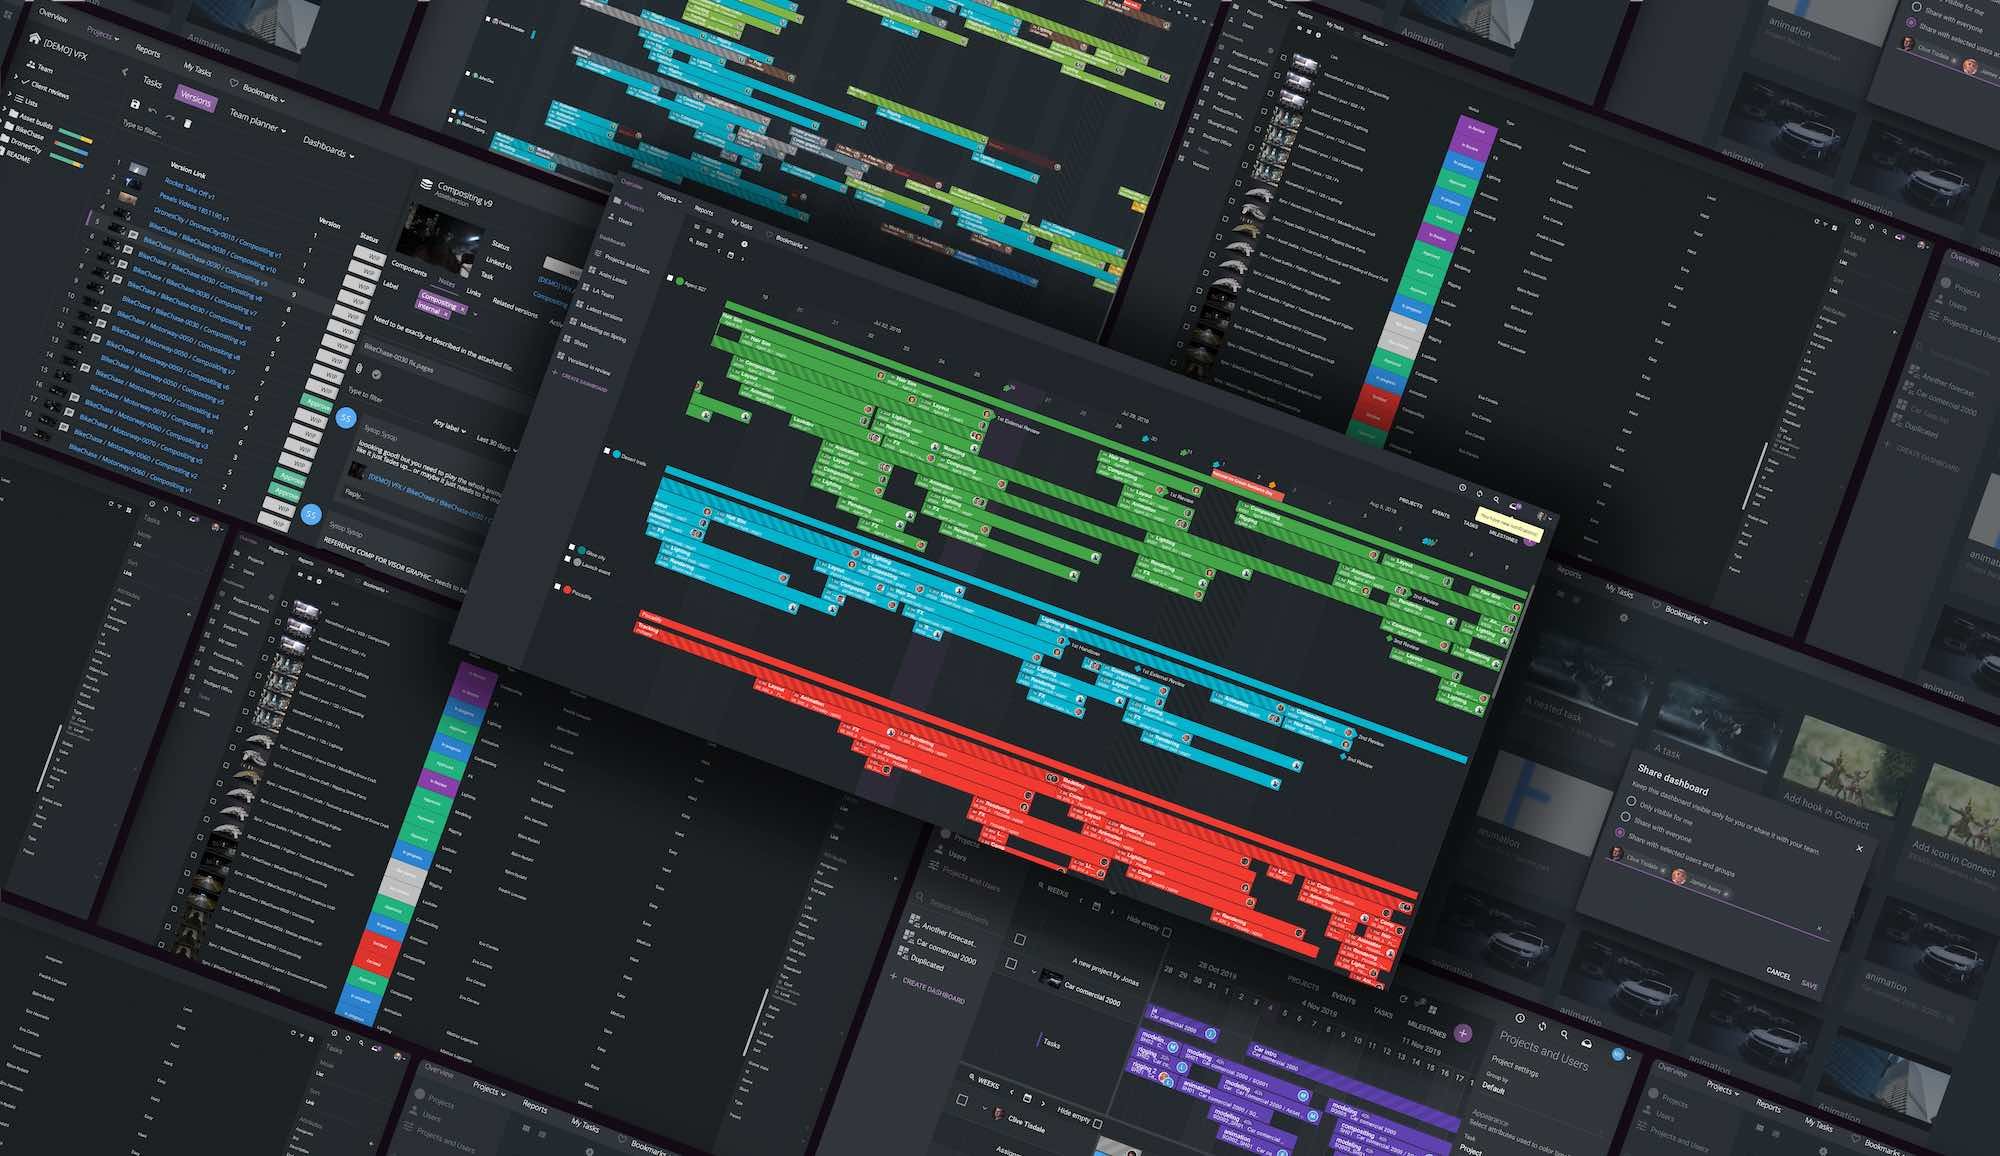
ftrack Studio integrates with Nuke to allow for easy tracking of tasks from directly within in Nuke.
8 ways to increase your efficiency with Nuke
1. Identify node issues with performance timers
Sometimes, whatever it is that’s causing your Nuke script to slow down may not be readily apparent. That’s where Nuke performance timers come in handy.
Nuke performance timers put your Nuke script into performance timer mode. When turned on, the feature color-codes each node according to the length of time they take to calculate: green for fast, orange for medium, and red for slow. This enables you to see any bottlenecks within your script. That helps you to make better decisions as to where and when you pre-comp sections out.
To enter performance timers mode, create a script editor panel and type the following into Python:
nuke.startPerformanceTimers()
Once this runs, your nodes will turn grey. If you view the bottom of your script, you will see your color-coded nodes, based on performance speed. You can exit performance timers mode running the following python script in the script editor:
nuke.stopPerformanceTimers()
2. Eliminate unwanted passes with Remove node
The Remove node is used to remove channels that you’re no longer using in your Nuke Script. Sometimes, this approach can speed up your script by incredible amounts. The scanline render node kicks out depth/motion vectors that you may not need, or your spec pass if you no longer require it following adjustment.
You want to make sure you’ve removed all passes that you don’t need in this way so that Nuke no longer has to carry that information downpipe – it will work faster as a result.
For instance, specific nodes like the Blur node are automatically set to blur all channels coming into it. So, if you were to add a blur node, it blurs all channels, not just your RGBA. By keeping only the channels that you need using the Remove node, you can make sure that that Nuke only ever computes on channels you’re going to keep. This approach will have an incredible impact on your Nuke script speed.
3. Set default presets for ease of use
We all have our idiosyncratic ways of working. For instance, I like setting my backdrop nodes to a 120 font size and default my remove nodes to keep RGBA. However, to do this manually on every new project takes up valuable time I could better spend on creating great imagery.
Thankfully, with a little Python code, you can set default settings for all Nuke nodes. That way, you needn’t repeat actions you’re likely to repeat for each new project,
To do this, you need to access your menu.py in your user/.nuke folder. Your .nuke folder is a hidden directory, so you’ll have to go into your operating system settings to display your hidden files. You can then open your menu.py in a notepad and use the following Python script to set a default knob value for a particular type of node:
nuke.knobDefault(’nodetype.knobname’, ‘defaultknobvalue’)
So if you wanted to set all remove nodes to keep RGBA channels by default , put the following into your menu.py:
nuke.knobDefault(‘Remove.operation’, ‘keep’)
nuke.knobDefault(‘Remove.channels’, ‘rgba’)
4. Use the Y hotkey to connect with speed
This tip is just a small thing, but it nevertheless saves me tons of time when connecting nodes – especially if they’re far apart. It’s all about the “Y” key!
Before I knew about this hotkey, I would have to make a dot node and drag it next to the node that I wanted to connect. However, you can do so far more efficiently, no matter how far apart the nodes are, by using the “Y” key. Simply select the node that you want to connect, shift-click the node that you would like to connect it with, and hit “Y”. Easy!
The “Y” hotkey also works with nodes that have multiple inputs, like the merge and scanline nodes. You can select your merge then shift-click on the two other nodes that you want to connect. Nuke hooks everything up for you. This approach comes in handy with the scanline render node, as it allows you to input your camera and scene node faster.
5. Add a hotkey to close properties panels
When you’re in the flow of comping, you don’t want to worry about regularly closing or clearing your properties panels to clean your view. I like to speed things up a little by setting a hotkey that closes my open properties panels in an instant.
As you can see in the Python script below, the hotkey I use for this is “shift +d”. However, you can use whatever hotkey you’d like.
To ensure this hotkey is usable every time you open Nuke, put it into your menu.py. It runs as your Nuke starts up.
closes panels
def close():
[node.hideControlPanel() for node in nuke.allNodes()]
nuke.menu( ‘Nodes’ ).addCommand( ‘close’, ‘close()’ , ‘shift+d’)
6. Turn off the tracker node preview
If you’re working with a live tracker in your Nuke script, you may have seen the “calculating preview” popup. This popup can slow down your caching in the viewer or even freeze your UI.
You can turn off the “calculating preview” popup if you wish. Just go into your tracker and untick the following in the “settings” tab of your tracker nodes. Please note: if you make these changes would like to make adjustments in your tracker afterward, you’ll need to revert to the original tracking settings.
General > “show zoom window” to “never”
Keyframe Tracking > “keyframe display” to “none”
“create new key when track is moved” – Unticked
7. Check your gizmos for bounding box issues
Often, the MPC Nuke script debugger would come up against a problem: people not checking what was happening inside their gizmos.
Exponential glow nodes and others are notorious for creating crazy bounding boxes. When they are stacked, it gets even worse and can make a script unworkable. There are two fixes for this:
- Check what is happening inside you gizmo by converting it to a group. You can do this by going to the node tab in the gizmo and clicking “Copy to group”. You can then go inside this node by clicking it in the node graph and hitting “Ctrl + enter”. You’ll now be inside the gizmo and can see what’s going on. If any blur nodes are getting out of control, or the node has created unnecessary passes, you are now free to remove them or make adjustments within the group.
- Place crop nodes after the troublesome nodes, such as exponential glow, blurs, or camerashake, to name a few.
When cropping, remember that if you are using a lens distortion node or camershake later in your script, it relies on pulling in overscan pixels. So, make sure you’re not cropping your image too much!
8. Prevent scanline render node from outputting unwanted passes
It’s easy to forget that the Nuke scanline render node kicks out motion vectors by default. You can see if a node has motion vectors by spotting the light pink or light blue squares at the bottom of the node.
Motion vectors are useful when applying motion blur later in your script, but if you don’t intend to do so, then you may not need this information. You could use our remove node trick to remove the motion vectors, but an even better approach is not to render them at all.
You can turn these channels off in the scanline render node itself. Go into the “Shader” tab of the scanline render node and set your “motion vectors” to off. Ta-da! Your scanline render node will no longer render motion vectors, and you can work with that much more speed.
Use Nuke with ftrack Studio to improve the efficiency of your production pipeline. Try ftrack Studio and our Nuke integration for free, today.

More from the blog

Enhanced performance in ftrack Studio: Fine-tuning for speed, reliability, and security
Chris McMahon | API, Developer, New features, Product, Productivity, Studio | No Comments
Protecting Your Creative Vision During Desktop and Web-based Review & Approval
Chris McMahon | cineSync, Product, Review, Tips & tricks | No Comments
How to Bypass the 3 Mental Snags of Media Sequence Creation
Chris McMahon | Animation, News, Review, Studio, Tips & tricks | No Comments
An improvement to ftrack Studio’s Overview dashboards: edit, update, and customize!
Chris McMahon | New features, Product, Productivity, Release, Studio | No Comments
The Pack Expands its Territory into Game Engine Generated Films with the Help of ftrack
Chris McMahon | Animation, Case Study, Gaming, News, Productivity, Studio | No Comments

How to Quickly Assign Tasks and Track Status with Custom Task Views
Chris McMahon | New features, News, Product, Productivity, Release, Studio, Tips & tricks | No Comments


